Lightsaber Parts And Accessories: Understanding the Basics
The lightsaber is an essential piece of equipment from the first view. Where your hand goes, there is a handle. The protrusion resembling a blade used to attack your opponent has a handle at one end. New fans often find out that lightsabers are more complex than they initially thought, leading to common mistakes.
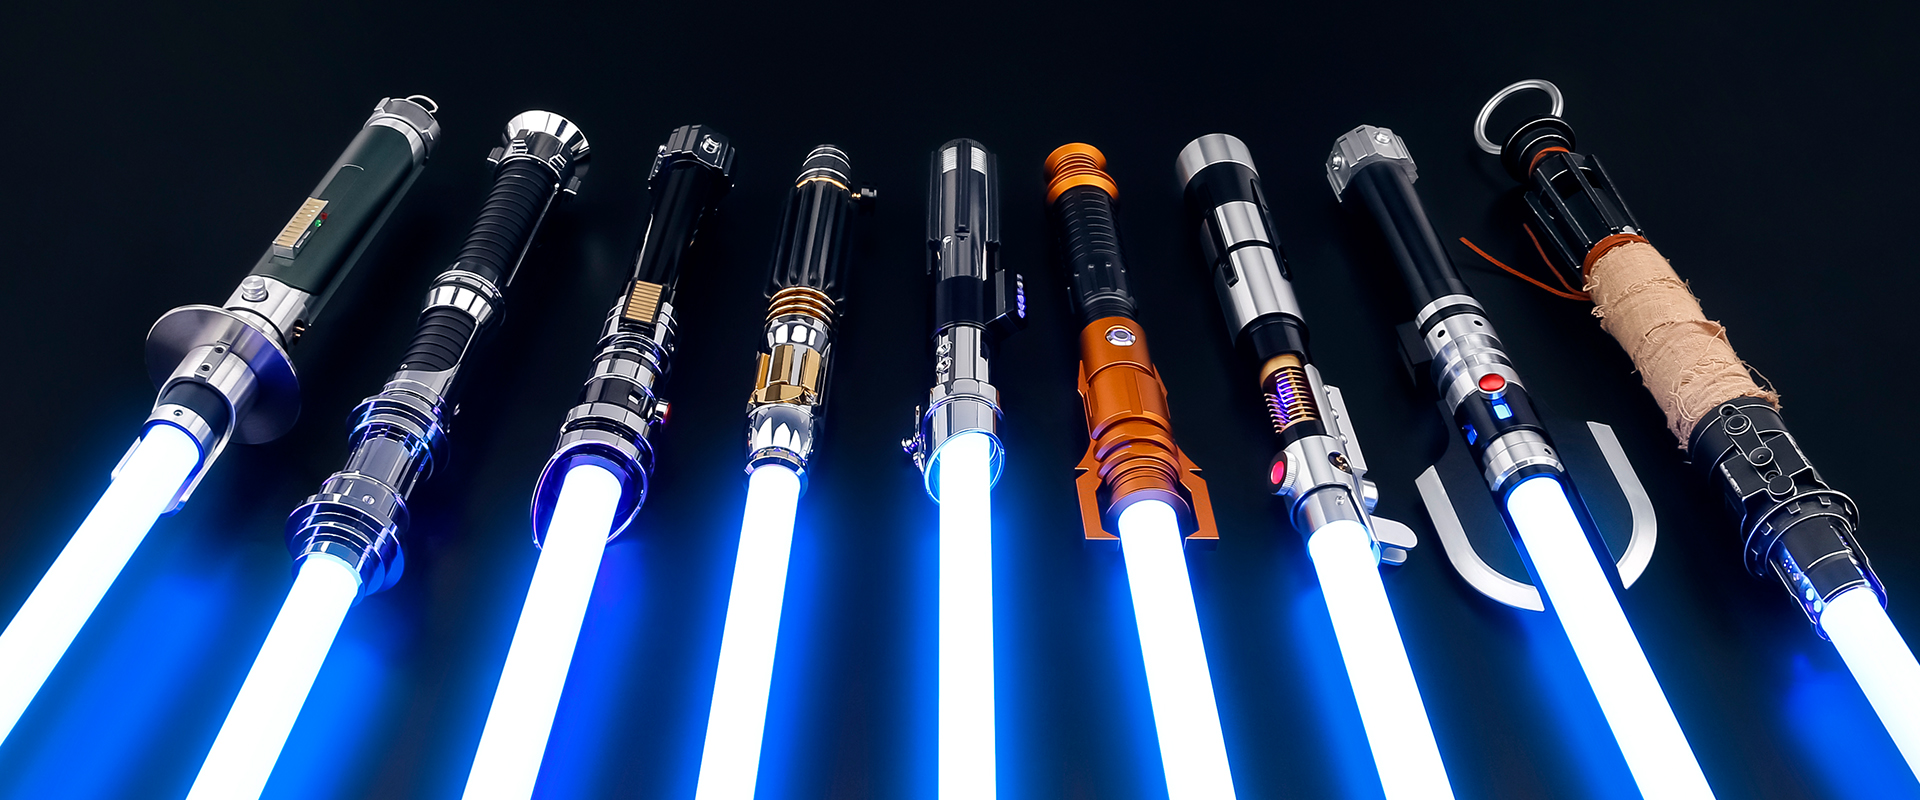
Usually, lightsabers include many parts and accessories whose use is not immediately apparent from their name. In any case, what does an "emitter" really emit? Furthermore, shouldn't an Olympic gymnast be dancing on a "pommel"? Here's a quick overview of the various lightsaber parts and how they work for beginners.
Hilt – The lightsaber's handle is called the hilt, or body. It's the portion that you hold in your hand as you swing the lightsaber.
Lightsaber hilts have many different styles. Common features include a switch to turn on the blade and a choke point. The choke point is the narrowest part of the hilt.
Aside from a few valuable factors like the user's hand size, choosing the ideal hilt is mostly a matter of taste. The soundboard and additional electronic parts are likewise housed in LaserPointerWorld hilts.
Blade is a slender, light-colored cylinder that strikes targets or adversaries. To enhance illumination, the multi-length LaserPointerWorld blades are constructed from durable polycarbonate tubes with film inside. There are two types of blades: Midgrade, which is excellent for showcasing vibrant colors, and Heavy Grade, which is best for dueling.
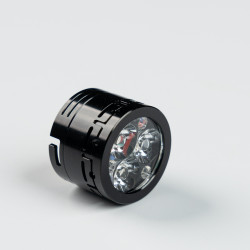
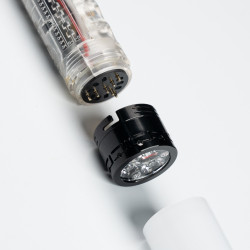
Lightsaber Emitter – The emitter, attached to the hilt's end, grips the blade firmly where it connects to the body, aiding in stabilization. Specific lightsaber emitters feature windows—precisely crafted openings that let the blade's light pass through.
Other add-on emitter characteristics that are available are blades and claws. These emitter choices are more aesthetically pleasing than functional. Therefore, they might not be appropriate for people who enjoy lightsaber combat, particularly competitive ones.
Pommel – This is the "cap" that resembles a knob at the bottom of the hilt or the end that isn't connected to the emitter. The lightsaber hilt helps balance the weight and prevent slipping during combat. Its main purpose, however, is for aesthetics. Vents are a standard feature on lightsaber pommels, allowing the soundboard's effects to be heard more clearly.
Coupler – This little cylindrical component can connect two lightsaber hilts thanks to openings on either end. When you join the hilts in this way, you create what is known as a double-bladed lightsaber, also called a staff in the Star Wars world. Darth Maul and a few other noteworthy figures favor this weapon.
A unique version, the "quick-release" coupler, was designed to allow the user to connect or disengage the linked lightsabers quickly. The coupler is exclusively required for lightsabers with two blades.
To ensure that customers get the most out of their purchase, LaserPointerWorld also offers a variety of light-saber accessories, such as Covertec wheels, USB cords, color discs, and more. If you have any questions concerning the products displayed on this website, please do not hesitate to contact LaserPointerWorld.
Step by Step Guide On How to Build Lightsabers?
Are you prepared to join the Jedi? Alright! You must learn how to make your own lightsabers if you want to join the Jedi. You can create a lightsaber at home, even if you might not be able to carry out the Jedi rites. How awesome is that? These days, we can make a realistic lightsaber at home with the help of technology.
Are you prepared to construct a lightsaber by yourself? We've made this simple tutorial for the fans. Start your first Jedi journey by making your own lightsaber using a few simple techniques and readily available parts.
Lightsaber Parts
The first step in building a lightsaber is to learn about all of its parts. It is crucial to remember that these lightsabers cannot cut anything in this universe, including Kyber crystals. This lightsaber is used for friendly dueling or events.
These parts include the lightsaber blade, hilt, emitter, pommel, soundboard, electric board, LED strips, and battery. These parts are easily accessible. Purchase these components at your neighborhood electrical supply store, along with anything else that might be helpful.
You can even make your own lightsaber hilt.These parts and other lightsaber accessories are also available through the following link.
How to Build a Lightsaber Hilt?
Get the following components from a local store if you want to learn how to create a lightsaber hilt at home.
- LED Holder (as an emitter.)
- A 12 inches Chrome sink tube (1.5 inches diameter)
- Two sink tube adapters
- A switch
- An endcap (pommel)
To connect the sink tube to the LED holder, use a single sink tube adapter. Attach the pommel to the opposite end of the sink tube using the second adapter. The fundamental skeleton of your lightsaber hilt will be prepared. By adding leather, diamonds, embellishments, colors, and other elements, you can create a unique or themed hilt.
If you know how to operate a drill, you can acquire holes and creative designs from a switch on the steel sink tube. To acquire a great form for your hilt, you might require a Dremel and file if you know how to use a drill.
Click the following link to find out how to drill or cut your sink tube.At the link below, you may also purchase a bespoke lightsaber hilt or any of your favorite characters' pre-made ones.
Lightsaber Electronics
A battery and an electronic board with all the electronic features are located inside the lightsaber hilt. A spherical electronic board that fits comfortably inside the hilt is what you need. It can be equipped with a variety of electronic parts, such as momentary switches, activation buttons, and LED units. To learn more about the hilt's interior, click the link below.
Adding sounds to your lightsaber hilt is an optional feature. The buzzing sound of the lightsaber is essential. Second, LaserPointerWorld.com offers a Xenopixel or Baselit soundboard for more background noise and clashing sounds.
Batteries
Any AA battery can be used to power the electronic parts. These batteries don't last long enough, though. Any lithium-ion battery model is what I advise. The lightsabers are powered by these batteries, which never die.
The exterior and interior of the hilt will be prepared if the aforementioned procedures are followed. Make sure the hilt's inside is adequately insulated before installing the electronics. For that, you might use cardboard or any other type of insulator.
Make sure your battery and electronic board fit inside, then leave them out until you've finished making your blade. The second most crucial step in building a lightsaber is preparing your blade.
How to Make a Lightsaber Blade?
A blade that can light up like a real lightsaber is what you need. Obtain a tube that is 40 inches long. A polycarbonate tube is what I advise. If you'd like, you can change the length. To fit inside, get two LED strips. These strips should be at least two inches shorter. To make it easier to fit the LEDs within a 40-inch tube, reduce them to 38 or 39 inches.
Refraction film must be placed within the tube, and the tube's top must be covered with an end cap. The light becomes more radiant due to the refraction coating. It makes your lightsaber appear more authentic.
After your circuit board is finished, attach the LEDs to it and place them inside the tube's refraction film. You must be properly knowledgeable about building circuits. To do this, click the following link.
Proper wiring is the only thing remaining. Fix the battery and electronics within the hilt now. Attach the LED strips on the blades to the hilt's circuitry. It's this! You have your lightsaber ready.
How are you going to choose your lightsaber's color? Alright! Your lightsaber's hue will depend on the LED strips you choose. Red LED strips are the best option if you want a Darth Vader lightsaber. Choose a green or blue Jedi lightsaber if you'd like one. A Neopixel blade can be used to create a lightsaber at home, even though most LED strips allow you to choose from a variety of colors.
How to Make a Lightsaber at Dinsey Land?
You should read this if you intend to visit Disney Land. You can make your own lightsaber in Savi's workshop, which is located inside the Galaxy's Edge area of Disney Land. Indeed! You can become a Jedi knight by building a lightsaber like a Jedi.
FAQs
What materials are needed to build a lightsaber?
Batteries, a light source, a blade, and a hilt are required.
How long does it take to build a lightsaber?
Depending on your degree of expertise, it usually takes a few hours to assemble.
Can I customize the color of my lightsaber blade?
Yes, the blade color can be customized using different colored LEDs.
Is it necessary to have electronic skills to build a lightsaber?
While not required, a basic understanding of electronics is beneficial.
Where can I find the components to build a lightsaber?
Electronics businesses and specialized internet vendors sell components.
Are there variations in lightsaber hilt materials?
A. Metal and synthetics are examples of materials.
Can lightsabers be customized?
A. It's true that people frequently customize their lightsabers.
Do lightsabers require maintenance?
A. Regular evaluations to ensure peak performance.
Can Anyone use a lightsaber, or is it Force-dependent?
A. Although its efficacy varies, Anyone can utilize it.
Are lightsabers used for cutting through anything?
A. Effective against the majority of materials.
Conclusion
To sum up, creating a lightsaber requires a combination of technical expertise and inventiveness. First, collect the required parts. This consists of a light source, batteries, a blade, and a hilt. After that, carefully install the electronics and complete the hilt. After that, firmly fasten the blade to the hilt. Lastly, make sure your lightsaber is working correctly by testing it. Anyone may make a custom lightsaber that showcases their individual flair and skill by following these guidelines.
